Embark is a quick, easy to understand, and robust framework that allows the development & deployment of Decentralized Applications (DApps). These server-less HTML5 decentralized applications have a lot of features, and they use one or more decentralized technologies such as Blockchain & smart contract to initiate working.
Embark currently assimilates with EVM blockchain (Ethereum), Decentralized Storages (IPFS), and Decentralized communication platforms (Whisper and Orbit). It supports Swarm for deployment purpose.

Implementing Embark Helps to Achieve
Blockchain (Ethereum)
- It automatically deploys contracts and makes them available in your JS code.
- Looks for changes, and if a contract is updated, embark redeploys the contracts (if needed) along with the DApp.
- Contracts are available in JS with Promises.
- Using JavaScript, Embark does Test-Driven Development with contracts.
- Tracks the deployed contracts and establishes when needed.
- Manages different chains (e.g. testnet, private net, livenet)
- Effortlessly manages complex systems of interdependent contracts.
Decentralized Storage (IPFS)
- Easily stores, upload, and retrieves data on the DApp using EmbarkJS.
- Deploys the complete application to IPFS or Swarm.
Decentralized Communication (Whisper, Orbit)
- Easily sends/receives messages through channels in P2P, using Whisper or Orbit.
Embark Dev Environment Setup
Ensure the installation of Node in the machine to establish Embark Dev Environment. Please follow step 1 to setup Node.js, else skip to step 2.
Step 1: To install Node.js:
- Download Node.js from Nodejs.org
- Now run the downloaded setup file
- Follow the instructions on the installation window
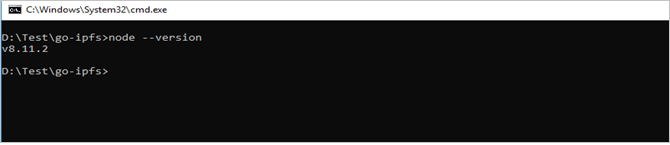
- Type ‘node –version’ in CMD to check the installation status
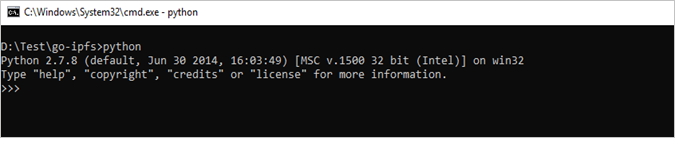
Step 2: Install Python 2.7
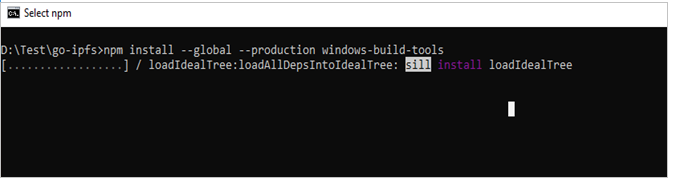
Note: In case of denied access: Type every npm instruction in terminal or CMD or PowerShell. You can also use CMD as administrator.
Step 3: Now install all the involved tools and configurations using Microsoft’s windows-build-tools npm install –global –production windows-build-tools from an elevated PowerShell or CMD.exe (run as Administrator).
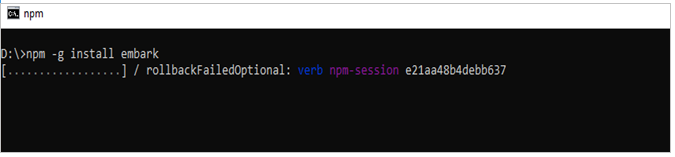
Step 4: Install Embark, using: npm -g install embark
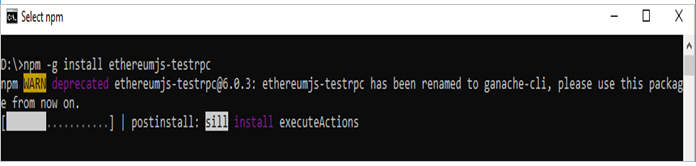
Step 5: If you plan to use the simulator instead of a real Ethereum node: npm -g install ethereumjs-testrpc
Usage
Step 6: Create a sample working DApp with steps below.
$ embark demo
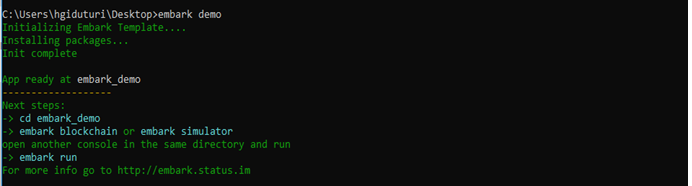
$ cd embark demo to get into to the DAPP folder
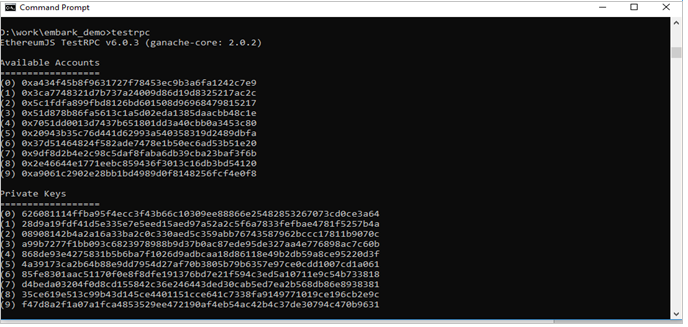
Step 7: To use Ethereum: Type testrpc in another terminal. Make sure to install ethereumjs-testrpc globally to do so. Else type npm i ethereumjs-testrpc.
Step 8: Move terminal cursor over Embark demo DApp folder location and type embark run to run DApp.
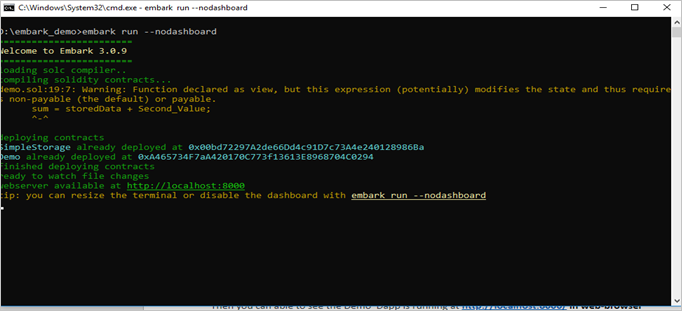
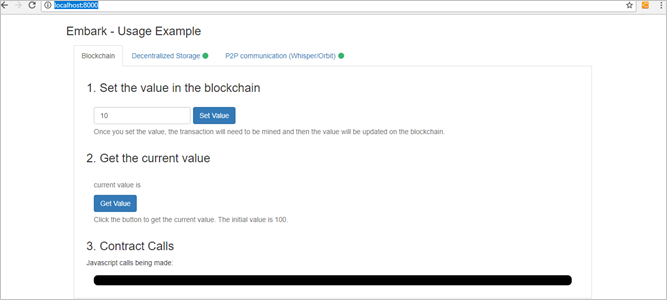
Step 9: You should be able to see demo DApp running at http://localhost:8000/ in web-browser.
Let’s get started with Embark
- Follow steps in the outlined below, after the successful installation of Embark.
- This blog will help you deploy smart contract using Embark and connect Embark to the test network [Rinkeby].
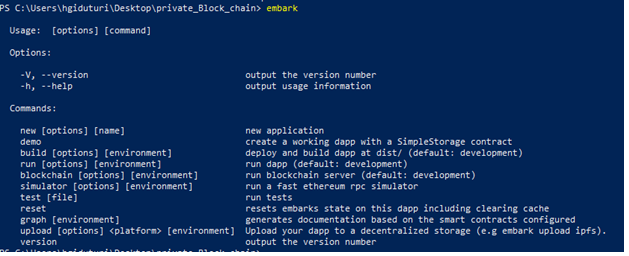
- Go to CMD and type embark to check its installation status.
You shall see the image shown below, upon its successful installation.
In case you don’t, please follow the installation steps mentioned below.
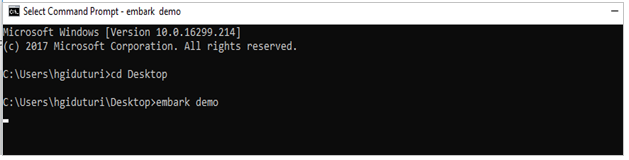
- Create a project folder and navigate to that project folder in CMD and type command embark demo.
- Type in testrpc to alternatively use Ethereum RPC simulator.
- Type Embark run in demo folder.

Doing this will automatically deploy the contract, update their JS bindings, and station DApp to a local server at http://localhost:8000
- Add this configuration in the blockhain.json file in the demo project folder, to connect Embark with Rinkeby test network.
- You can locate blockchain.json file under the config folder.
- Type config/blockhcain.json
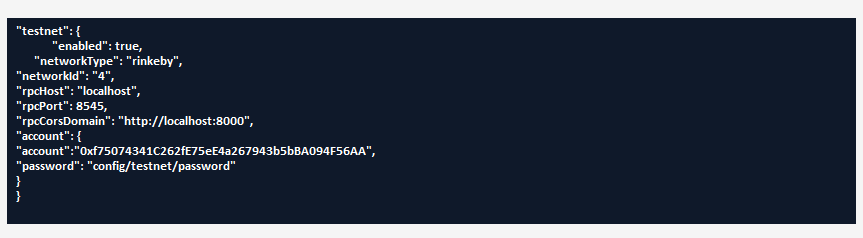
- Now run command embark blockchain test instead of embark simulator and it will connect to Rinkeby test network. This will allow automatic deployment of contracts into the Rinkeby test net.
Note: Make sure to add cryptocurrency in you Rinkeby test account.
- To get test cryptocurrency of Ethereum follow this.link
Note: Rinkeby test network takes time (sometimes up to hours) to sync. Please hold until then.
Steps to write simple Asset Management Contract on Ethereum & deploying it on Rinkeby Network using Embark
Smart Contract for Asset Management
. \contracts\Asset.Sol)
[java]pragma solidity ^0.4.18;
contract Asset{
struct car{
uint carID;
string ManufacturedBy;
string Model;
string Location;
}
mapping(address => car) cars;
address[] public particicpants;
function Buycar(address _address,string company,string specific_model,string area,uint id){
var Authenticator = cars[_address];
Authenticator.ManufacturedBy = company;
Authenticator.Model = specific_model;
Authenticator.Location = area;
Authenticator.carID = id;
particicpants.push(_address)-1;
}
function getparticipants()constant returns(address[]) {
return particicpants;
}
function getcar(address __address)constant returns(string,string,string,uint){               return(cars[__address].ManufacturedBy,cars[__address].Model,cars[__address].Location,       cars[__address].carID);
}
}[/java]
- Copy the above contract and save it as contracts\Asset.sol
- Go to config/contract.json file and add the contract configuration as shown below.
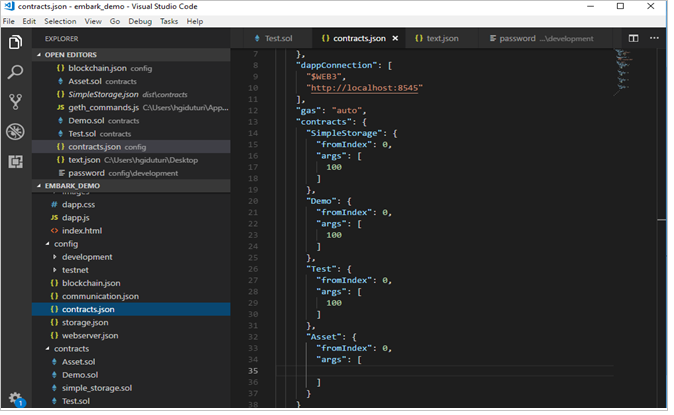
- As shown above, add configuration for test net to connect to testnet (e.g. Rinkeby), or you can run simulator Blockchain by typing testrpc command in the terminal.
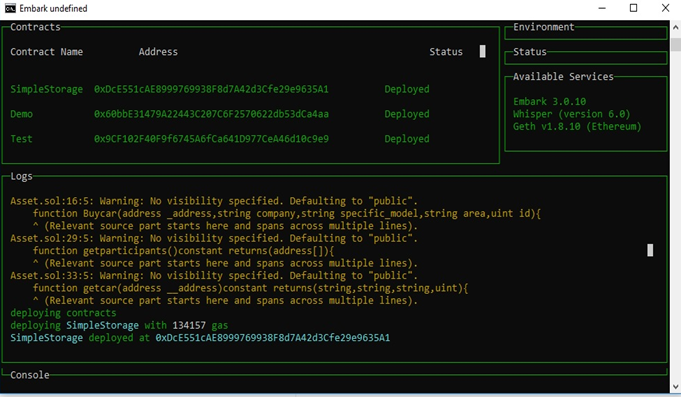
- Type command embark run by moving cursor to your project folder.
- Now you should see the deployed address of your contract.
Steps to Create Blockchain Account in Rinkeby or Simulator
- Post initiating the Blockchain by running embark command, you will get geth.ipc path in command prompt.
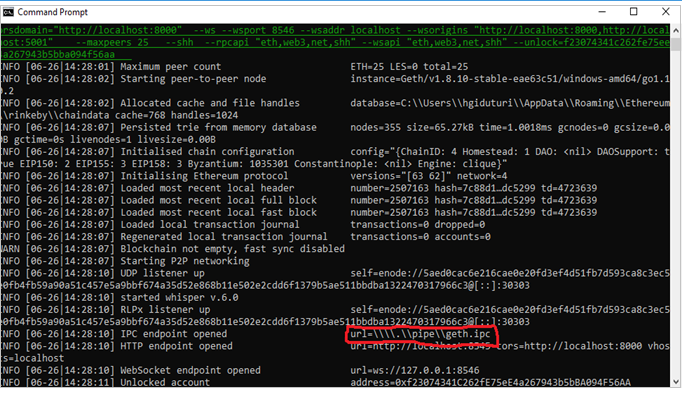
- Copy that path, open another terminal and type command geth attachipc:\\.\pipe\geth.ipc
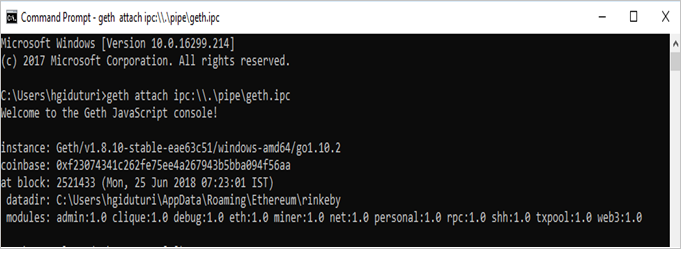
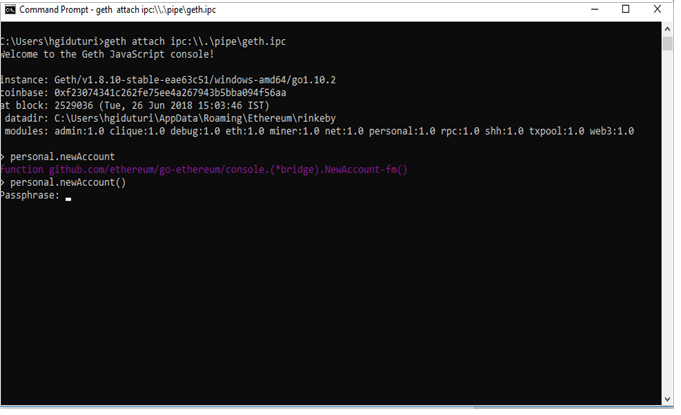
- After attaching the geth ipc, type command personal.newAccount(). Now enter the desired password. It will create an account in blockchain and provide you with the blockchain address.
Evoke’s Blockchain Solutions
Blockchain is the future to fundamentally revolutionize the way business is done, making business interactions secure, transparent, and far more efficient. Evoke with its blockchain solutions not only enables global enterprises to accelerate adoption of blockchain technology but also do so sans any expense and the risk associated with a new product launch. With our experience on multiple blockchain platforms, we help enterprises create a customized strategy and actionable road-maps for blockchain application development and testing.
Our blockchain practice consists of techno-functional experts specializing in consulting & advisory services, ICO development, rapid prototyping, implementation & integration, testing, and support. It’s time to redefine your business using our out-of-the-box blockchain services and applications. To learn more about our blockchain solutions, contact us at +1 (937) 660-4923 or fill our online enquiry form.
Author
 |
Hari Giduturi is an experienced Blockchain Developer in Evoke Technologies and has worked on multiple technologies such as Node.js, PHP, AngularJS. In his free time, he is seen around with his camera, capturing life at its best. |